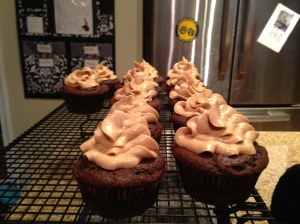
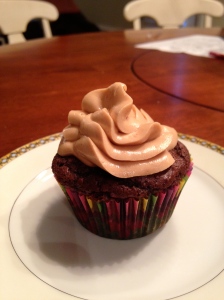
Today I made my favorite thing so far. Buckeye cupcakes. Are we Buckeye Fans you ask? Um… no…. I had to look and see what type of sport I should be referencing here in fact. Meaning, I don’t care about football… I am sorry. Ok, I said it. I hope that won’t deter any of you from reading on and making these! I can only assume that when I pinned these, probably 2 years ago, that I was drawn in by the rich chocolate and peanut butter combination. And trust me, if you like those 2 together, then get your rear, Buckeye fan or not, into the kitchen and make these!
Ingredients:
Peanut Butter Ball Filling
2/3 cup confectioners’ sugar
1/2 cup creamy peanut butter
2 tablespoons unsalted butter, softened
1/4 teaspoons vanilla extract
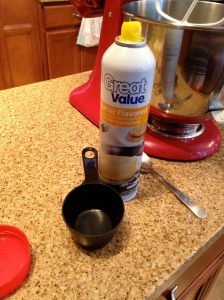
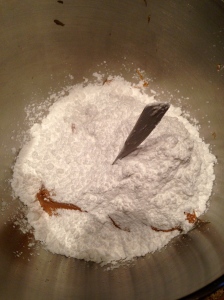
For the filling, it works best to use a stand mixer. I used the paddle attachment. Start off by putting all the ingredients in the bowl. Pretty simple, right? Whenever I measure peanut butter, I spray the measuring cup with some cooking spray. This helps the peanut butter come out a little easier and you’re not left scraping to get it out.
Yeah I have the cheap stuff from Walmart at the moment. Not my typical purchase, but it works in a pinch.
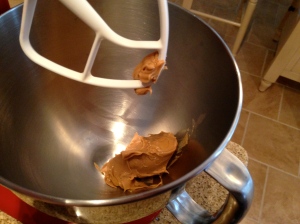
Once you have all the ingredients in the bowl, mix it up until it all comes together.
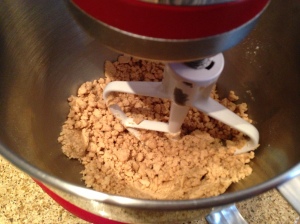
This is what mine ended up looking like, I thought it would be more of a smooth consistency but it seemed a little dry. However, it still came together nicely into little balls.
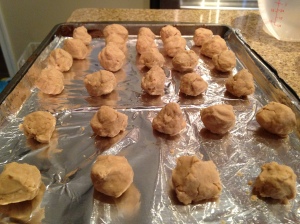
I apparently am not good at making uniform peanut butter filling balls. They are a bit misshapen! Which I guess is fine as they will be covered in chocolate cake batter shortly and no one will see how disfigured they are.
Now for the cupcakes!
16 tablespoons (2 sticks) unsalted butter, cut into 8 pieces
4 ounces bittersweet chocolate, chopped
1 cup Dutch-processed cocoa powder
1 1/2 cups all-purpose flour
1 teaspoon baking soda
1 1/2 teaspoon baking powder
4 eggs
1 1/2 cup granulated sugar
2 teaspoon vanilla extract
1 teaspoon table salt
1 cup sour cream
I would also like to say here, if you have an aversion to butter or lots of chocolate, turn back now! There is 4 sticks of butter all together in this recipe. I love baking with butter, I don’t believe in substituting, to be honest.
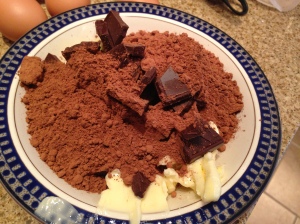
In a microwaveable bowl, combine the 2 sticks of butter, 4 oz of chocolate, and the cocoa powder together.
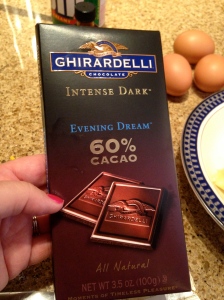
Remember this? Now it is only 3.5 oz, but I used it anyways, and trust me, the cupcakes are plenty chocolate-y. I really do love this brand. Intense is the perfect word for the chocolatey-ness you will experience with these cupcakes.
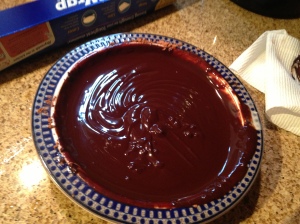
Now pop this in the microwave until it is nice and smooth. The original directions, instruct you to do the double boiler method. Which works great, and is very easy to do, but I was in a lazy mood, (that seems to be happening often…) and didn’t feel like it. And as long you do it in small increments of time and stir in between you should be fine.
Isn’t that gorgeous? This was after a 30 second rotation, stirred and put back in for about 20 seconds. Now set this to the side so it can cool a bit.
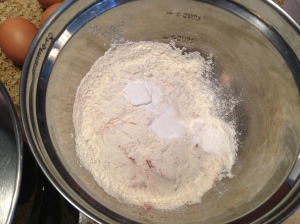
In a separate bowl, whisk together the flour, baking powder, and baking soda and set aside.
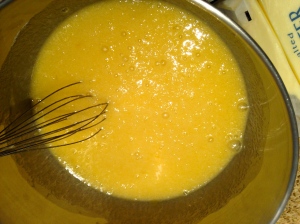
And in another bowl, crack the eggs. I did remember to take these out earlier so they could come to room temperature. I feel like such a good baker! Whisk, and then add in the sugar, vanilla, and salt. Ok, so the recipe calls for a teaspoon of salt. I felt like that was kind of a lot. Also I rarely use table salt for anything anymore. I have from Trader Joes, Pink Himalayan Sea Salt in a grinder. I LOVE using this! So I gave this a grind over the egg mixture.
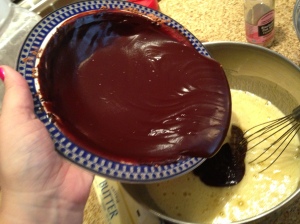
Now take the chocolate you have cooling and pour it in to the egg mixture.
Now mix that up until it is nice and smooth. If it is the right temperature, there will be no lumps. If it is a little too warm, it can cook the eggs a little bit and that’s no good in cupcakes! Or any baked goods for that matter. Nothing like biting into a cupcake and finding scrambled egg bits!
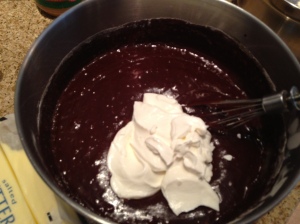
From here, you will add in about half of the flour mixture, whisking that until combined. Now add in the sour cream.
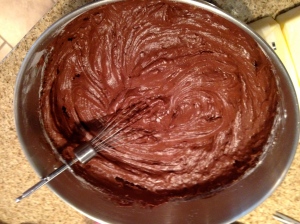
Mix this in until just combined and the pour in the remaining flour and stir again until just combined. You don’t want to over mix the batter or your cupcakes will end up tough. There is a scientific reasoning for this, but its late here and I will get into that another day.
I have no idea why this particular picture looks like my batter is upside down. Anyway, it is a nice thick batter, which in my opinion makes a nice dense cupcake. Its what I expect from a deeper chocolate like this. Milk chocolate needs to be light and moist (UGH! I even hate typing that word, it sends shudders down my spine!) But dark chocolate, well, I think it needs to be a deep dense cake to hold up to the flavor.
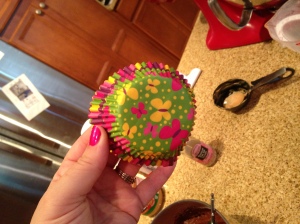
At this point, you either need to put liners in your pan, or grease it. I like liners for a lot of reasons. They are fun and make the cupcakes feel like something special. Also, and this may be my version of OCD, I kind of think its gross to not have them. Even in my own pans. I have to put liners in. And I won’t eat them at someone elses house if they weren’t baked in liners. Is that weird?
Aren’t these sweet? I think I was trying to lighten the mood of the dark chocolate. Chocolate is supposed to make you happy, not be serious or depressing.
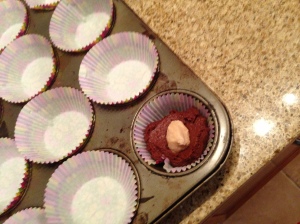
In the liners, drop about a tablespoon of the batter, and press into the bottom of each one, one of the peanut butter balls you set aside much earlier.
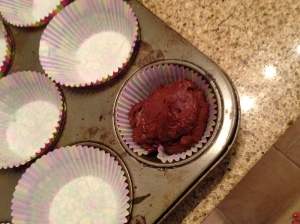
Then top that off with a little dollop of batter, just enough to hide the peanut butter ball.
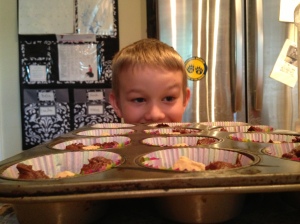
Do the same thing through out the pan. Now, I bet you are wondering where my adorable little helper is. I mean, chocolate is being used openly. Well, she didn’t want any part of this today, she was out playing with our little neighbor girl. They are besties, so I guess I understand! Friendship trumps chocolate! At least when you are 5. Instead I rounded up my oldest boy child.
Chocolate knows no gender.
Pop your cupcakes into an oven preheated to 350 degrees. I want to add in here, I have seen several times on Pinterest, a pin about if you want taller, fluffier cupcakes, to put them in a preheated 350 degree oven and then turn the heat down to 325 and bake them, usually about 2-3 minutes longer. I tried this. I have no idea if I hadn’t done this if they would have been flatter. I guess they might be a little higher, but again, this is a denser cake, so I guess I will try again the next time.
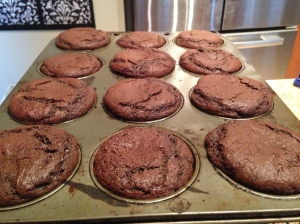
I baked these for about 23 min
Beautiful! Let these cool for a bit before you make your frosting. I have a raised cooling rack I think I have mentioned before, so they cool more evenly and a little quicker.
On to the frosting, and please take the time to make it, its super easy. Using store bought frosting would be a tragedy of epic proportions!
Frosting Ingredients:
2 cup confectioners’ sugar
2 cup creamy peanut butter
10 tablespoons unsalted butter, at room temperature
1 1/2 teaspoons vanilla extract
1/2 teaspoon kosher salt
2/3 cup heavy cream
For the frosting, take the first 5 ingredients, put in your stand mixer, that you so diligently washed after making the peanut butter filling. This is why I keep asking for either another Kitchenaid mixer, or at least another bowl for it. I would love to be able to mix 2 things at once! Its that overachiever syndrome of mine.
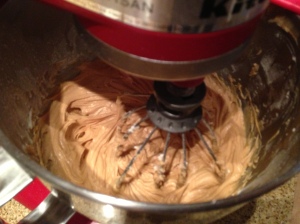
Not really recognizable as anything at this point.
I always use my wire whisk attachment when I make a buttercream, although I suppose this is peanut buttercream. Mix until smooth and all the powdered sugar is incorporated. Then add in the heavy whipping cream. Whip until light and fluffy.
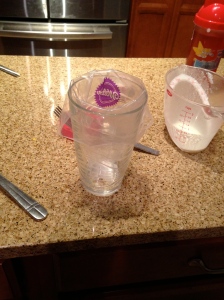
You are ready to frost some cupcakes now! Using a pastry bag is probably your easiest bet for frosting. I used to make one of my delightful children or the Hubs hold the bag open while I shoveled in the frosting. Getting it all over their hands, and making a mess. Until I discovered this little trick. Life changing, I tell you.
Yep, stick it in a glass. It’s the perfect solution.
I also don’t use a coupler and a tip. I guess maybe I should? I usually just cut the tip of the bag. I am not a decorator, just a baker.
They turned out brilliantly!
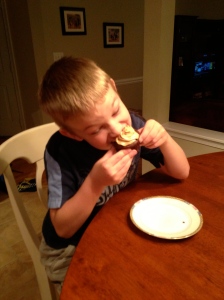
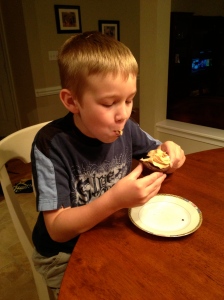
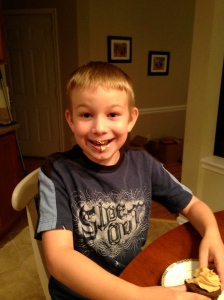
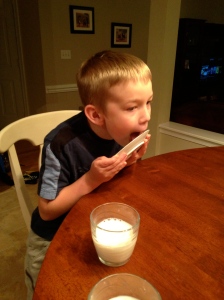
Remember the handsome boy from earlier? Well, he stuck around while I finished up, can’t imagine why… He loves to stay up a little bit and read with me at night. And tonight he lucked out and got to be my taste tester.
He told me, “Mom, I feel like my taste buds have been introduced to Heaven!” If that isn’t a sound endorsement, I don’t know what is.
Good stuff here people. You must make these. Even if you aren’t a fan of Ohio State.
He tried to convince me the plate was now clean. Um ew. Licking is not the same as washing. Just saying.
I seriously recommend making these, soon. Don’t deprive your taste buds a trip to Heaven!
Leave me a comment, I love getting them! And if you give these a shot, let me know what you think.
Love
your Bestie Baker
P.S. pinned from here: http://sweetpeaskitchen.com/2011/10/buckeye-cupcakes/
