Happy 4th of July! I meant to post a few days ago, an actual meal too. That’s right, we don’t only eat dessert at this house! Life, however, got in the way and I got busy. So instead, you get an entire menu for Independence Day! Ok, maybe not a 6 course meal, but I have your appetizer, main dish, and dessert covered. I know most menus for today generally consist of grilling of some sort, pasta and potato salads, and pie. Unfortunately, the grill master of the house has duty today, and I was not about to attempt grilling for our special guests! I wouldn’t even know where to start.
Fourth Of July Menu
3 Layer Mexi Dip
Indian Flat Bread Tacos
Red, White, and Blue Layer Cake
Lets start with the dip. This is not a pinterest recipe. Instead I picked up this recipe at our last duty station and it has become a staple at all get together, potlucks, or parties where I need to contribute a dish. Its super easy, and super yummy, and lucky you, I have decided to share it!
Ingredients
1 brick cream cheese (8 oz) softened
Sour Cream (16 oz container)
taco seasoning to taste
Salsa
Cheese
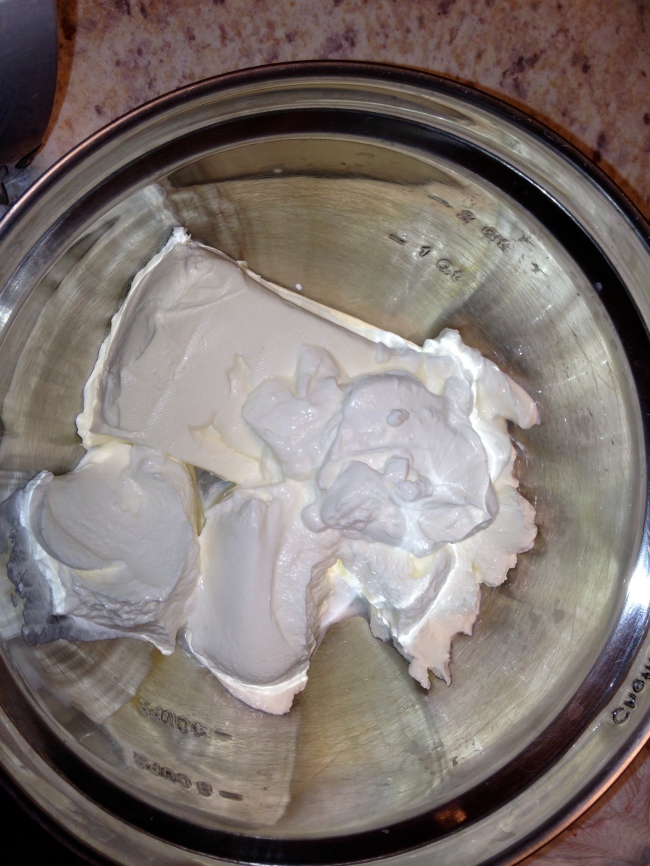
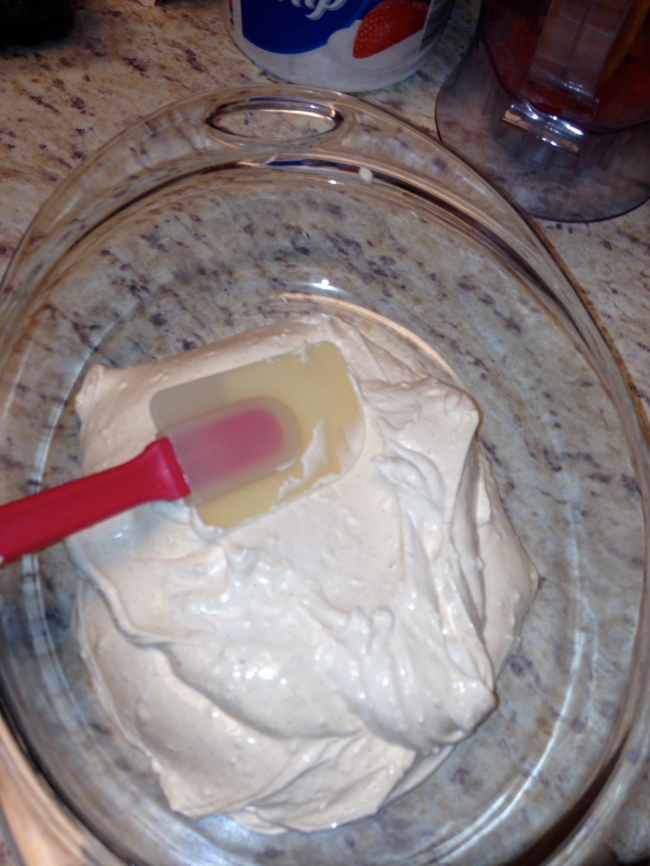
First off, since you now have this recipe and immediately decide to make it, you place in a medium size bowl, the cream cheese (you put this out to soften and therefore are prepared!)and the entire container of sour cream.
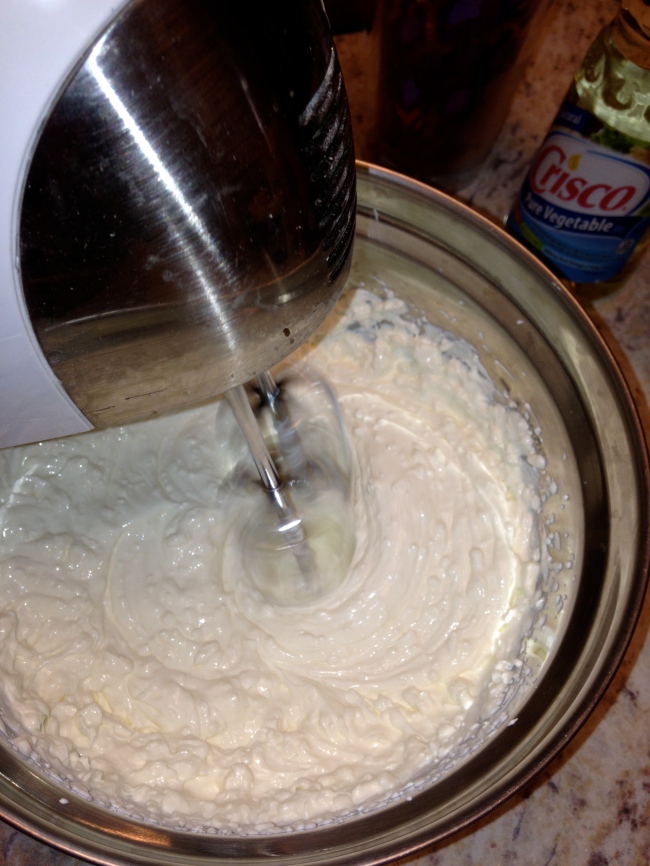
The best thing I have found to use here is a hand mixer, unless you are looking for an excellent arm workout and decide to approach this armed with only a whisk.
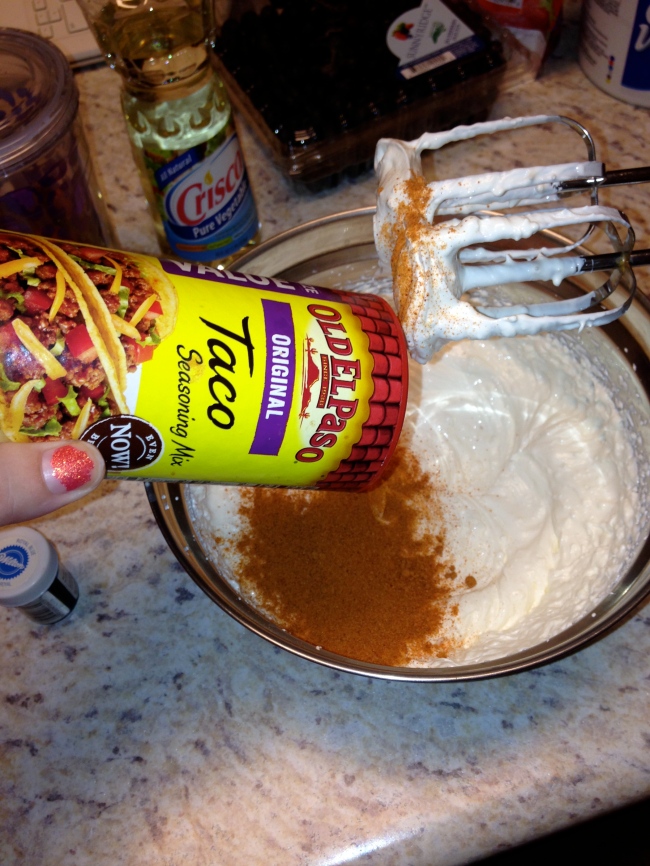
I have sad wimpy arms, maybe I need to use the whisk instead? However you choose to mix this, keep going until it is creamy and smooth. No lumps. Then add in the Taco Seasoning.
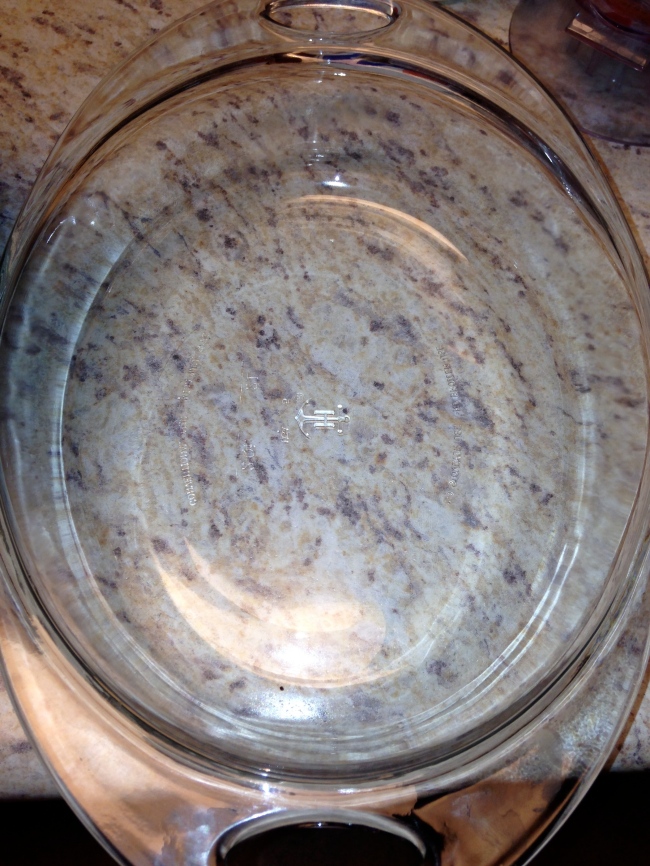
I really like the Old El Paso brand. I know you can make your own, but seriously, who has time for that? I say to taste because, you might like only a little bit of spice or a lot. So add until it suits you. I usually go by the slight orange-y color it gets once you mix it. Now take the dish you are preparing it in. This one is my personal favorite.
Honestly, it is probably 12 years old, it was a wedding gift and is the perfect size for this dip!
Now spread the base around the bottom of the dish until it is completely covered.
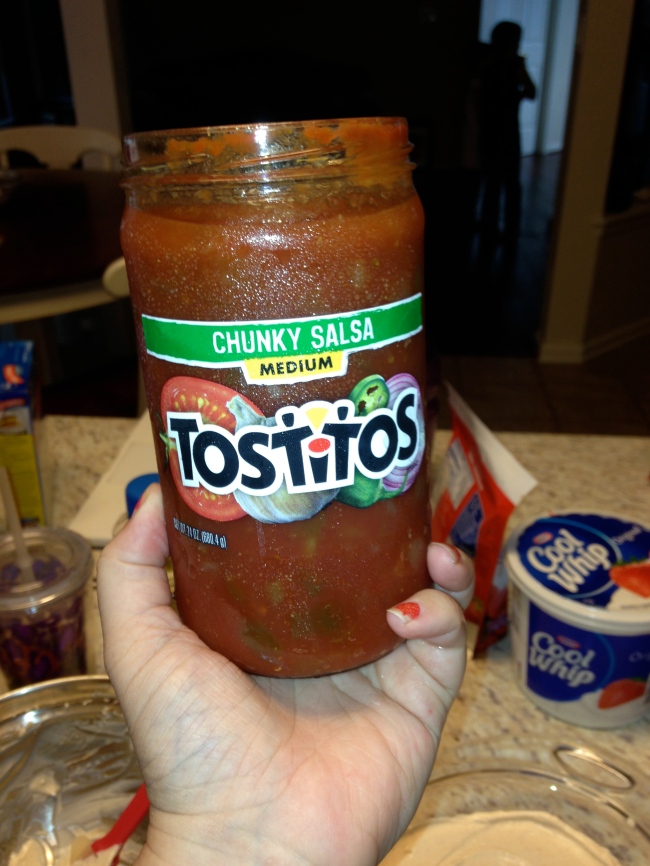
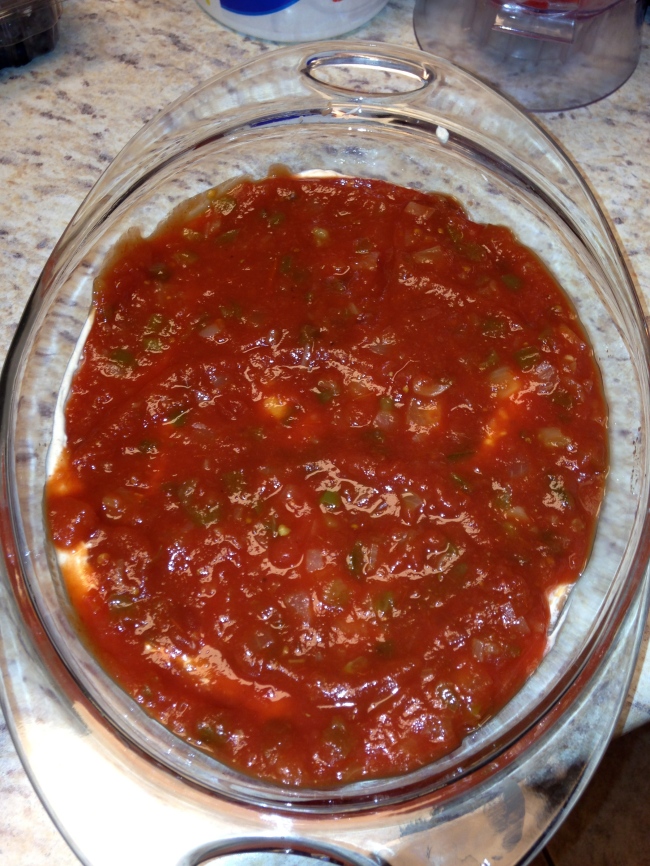
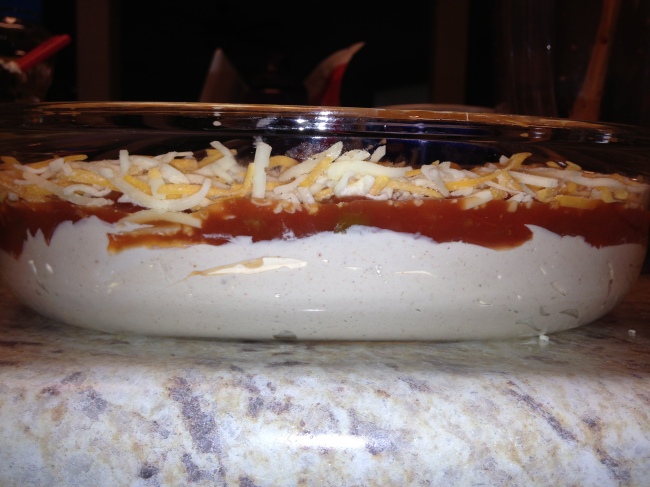
Once you have the base spread out, take your salsa. Again, your level of spice is completely up to your discretion. Medium I think pairs really with the cool creaminess of the base. And pour it on top. If you get the standard size you will use the entire jar. I used about half of this.
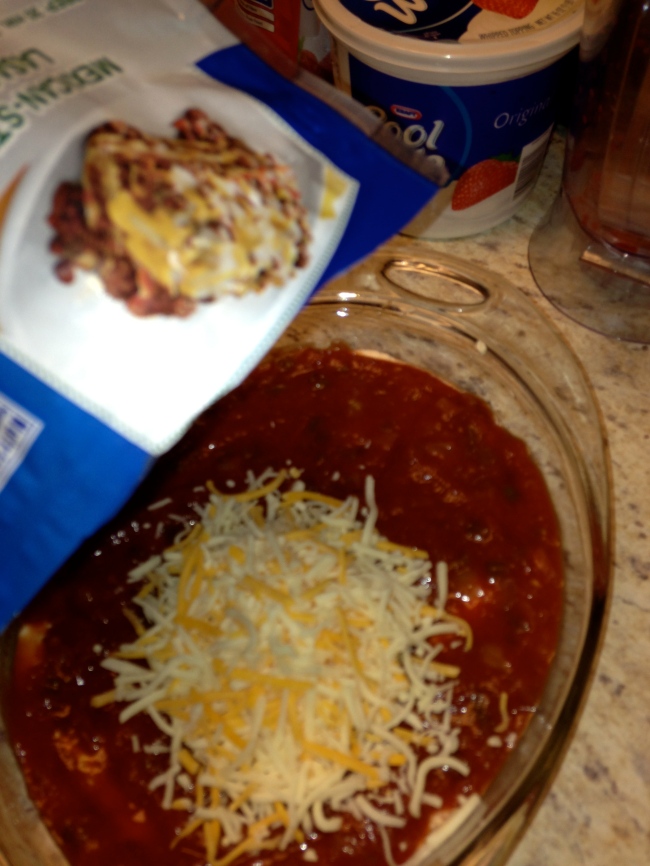
From here you will take your cheese and it gets super complicated. I like the Mexican blend from Kraft. Man, with all the name dropping, maybe someone will send me something? Probably not…
I told you it was complicated! Spread the cheese all over until it covers the salsa. And your done. Yep, that’s it. Put it in the fridge to chill for a couple of hours.
Now you could make a more even layer of salsa to match the creamy base, but I think this is perfect just the way it is. I can not tell you how well received this is!
Ok on to our next dish. I am ashamed to admit that I didn’t get a photo of the Indian Fry bread with all its taco toppings on it. I apologize, it was delicious though!
Ingredients
- 3 cups All-purpose Flour
- 1/2 teaspoon Salt
- 3 teaspoons Baking Powder (slightly Rounded Teaspoons)
- 3/4 cups Milk
- Water As Needed To Get Dough To Come Together
- Vegetable Shortening Or Lard For Frying
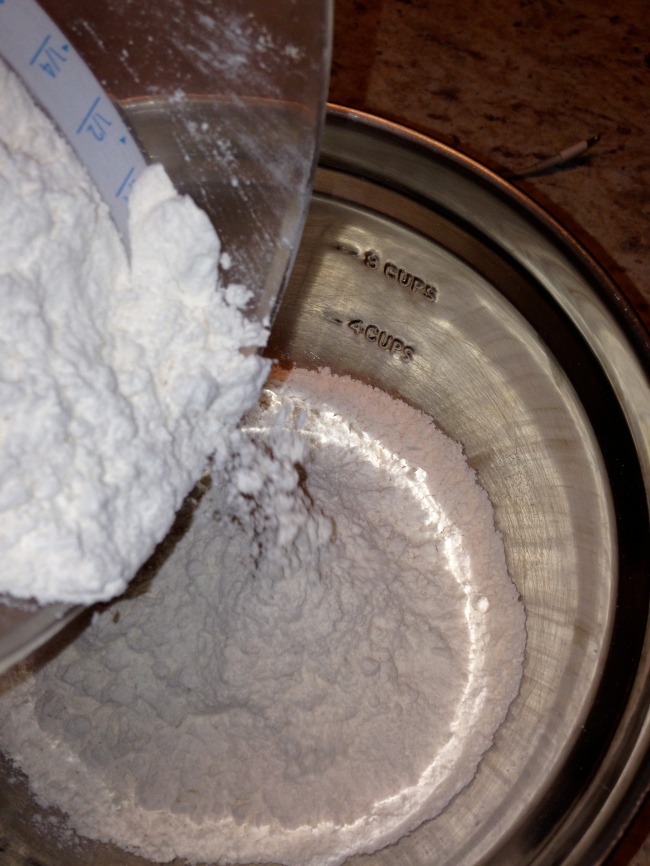
This recipe is from the Pioneer Woman. I love almost every recipe she posts, and they are always easy to follow. So take the flour, salt, and baking powder, place in a medium size bowl and mix with a fork.
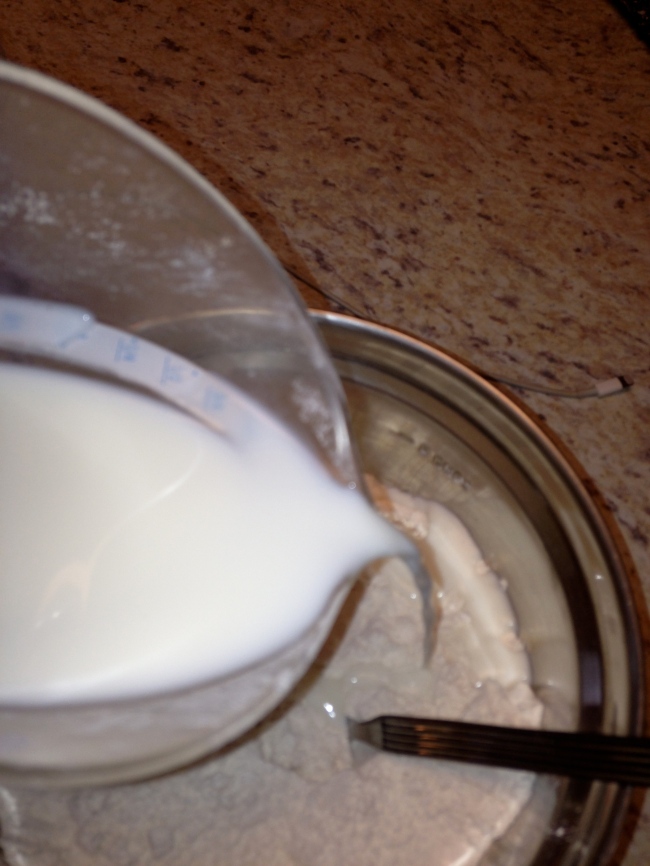
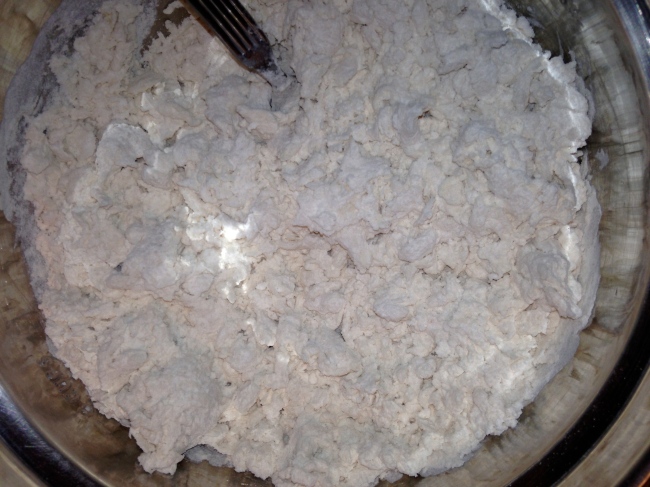
Then add in the milk and mix with a fork until the dough starts to come together.
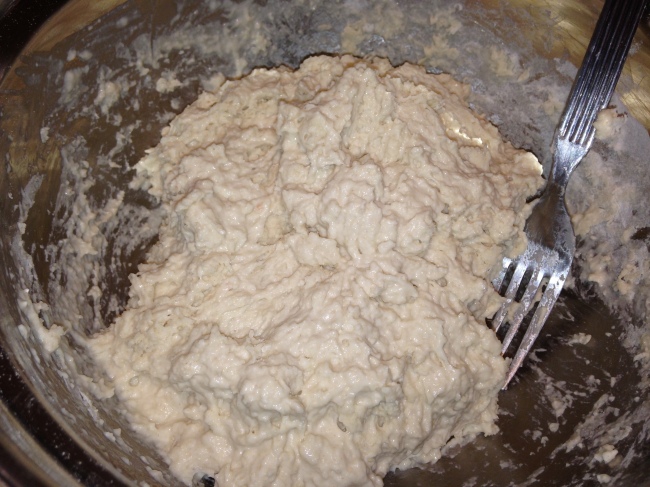
It should start to look like this.
Now add in a bit of water until it is thoroughly mixed and doughy. I used about 3/4 of a cup, but play with the measurements if you need to. I started out with half a cup and went up a little bit at a time from there, until it looked like this.
Now cover with a clean dish towel and set aside for about 45 min. Not because it needs to rise or anything, it just needs to rest. While its resting, you could rest, take a nap! I wish I could have, but I had more to do.
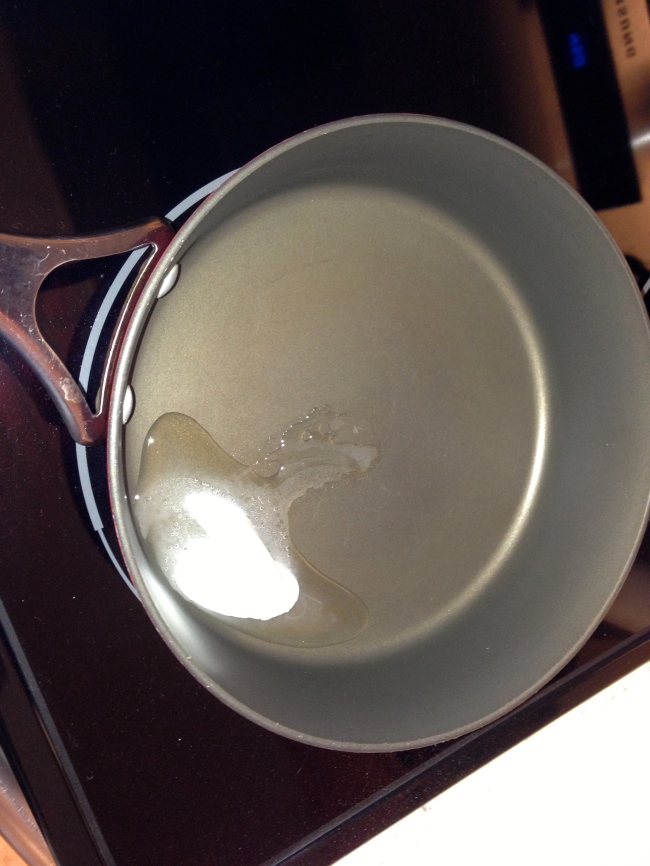
Everyone well rested now? Grab a frying pan, place it on your stove top, just in case you weren’t sure where to fry these. Take a good scoop of crisco and over about low/medium heat, I had my knob turned to about 3-4, let it melt and heat up.
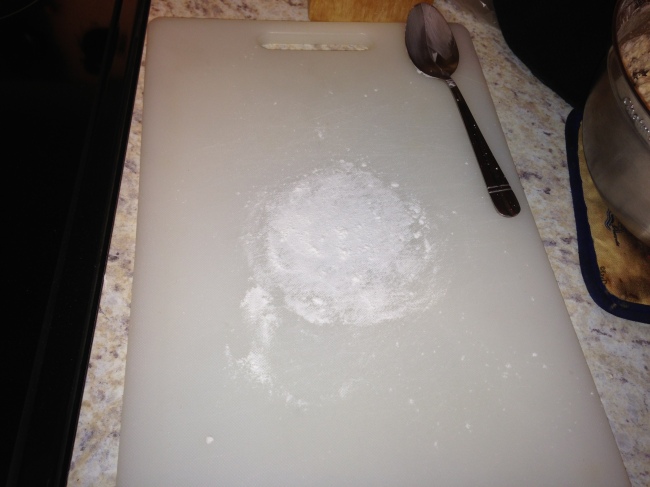
I took a cutting board and put a bit of flour down to pat each handful of dough so its not overly sticky.
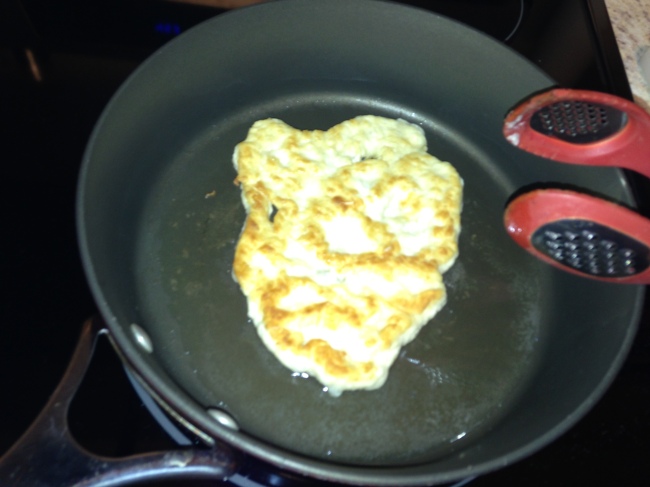
Pull and pat out the dough until its the size you would like it to be and place it in the pan for frying! I used tongs to flip it after about a minute, maybe a little less.
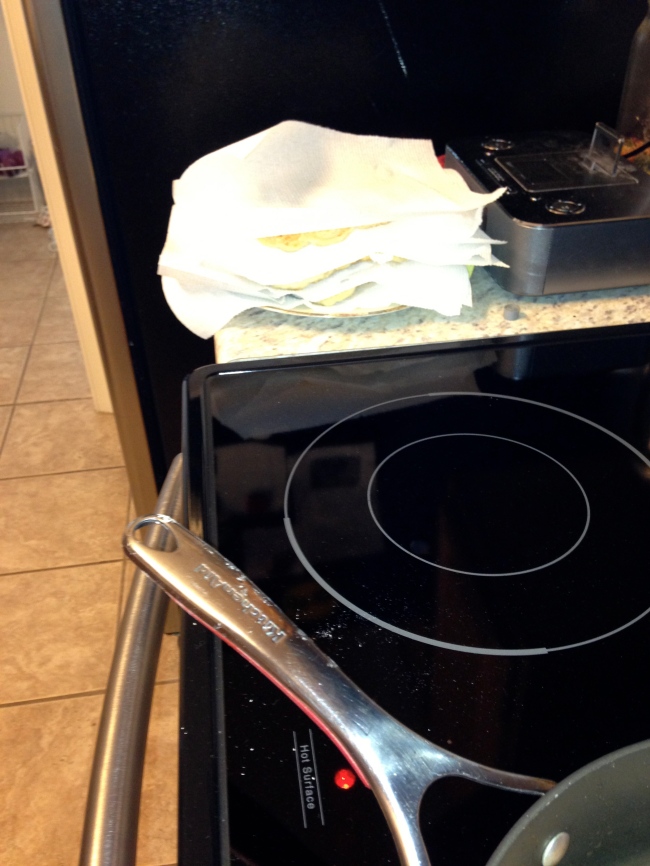
Looks delicious! It was so soft and warm and worked perfectly with the taco toppings. Now in between each one, I folded paper towels to soak up any excess oil from cooking it. You don’t want them to be soggy.
These would be amazing with a little melted butter and honey or even a sprinkling of cinnamon and sugar for a breakfast fry bread.
To make it a taco however, I had cooked up some ground beef the day before with taco seasoning on it, which I warmed up again. On the flat bread, I layered the ground beef, cheese, shredded lettuce and chopped tomatoes. Top with sour cream, avocado or guacamole, or even the taco dip you made earlier!
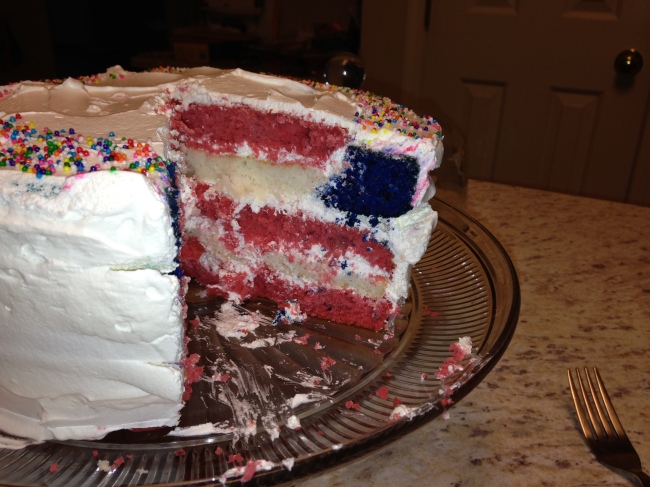
Now for dessert! Seriously good cake by the way. It looks complicated, but its mainly just a matter of stacking in the proper order.
There are 3 groups of ingredients. One for each color of cake!
Lets start with the red layer
1 box Betty Crocker® SuperMoist® white cake mix (yes I actually used cake mix this time around!)
About 2 cups of strawberries, stems removed and hulled, pureed down to about 1 1/4 cup
1/3 c vegetable oil
3 egg whites
1 teaspoon red paste food coloring
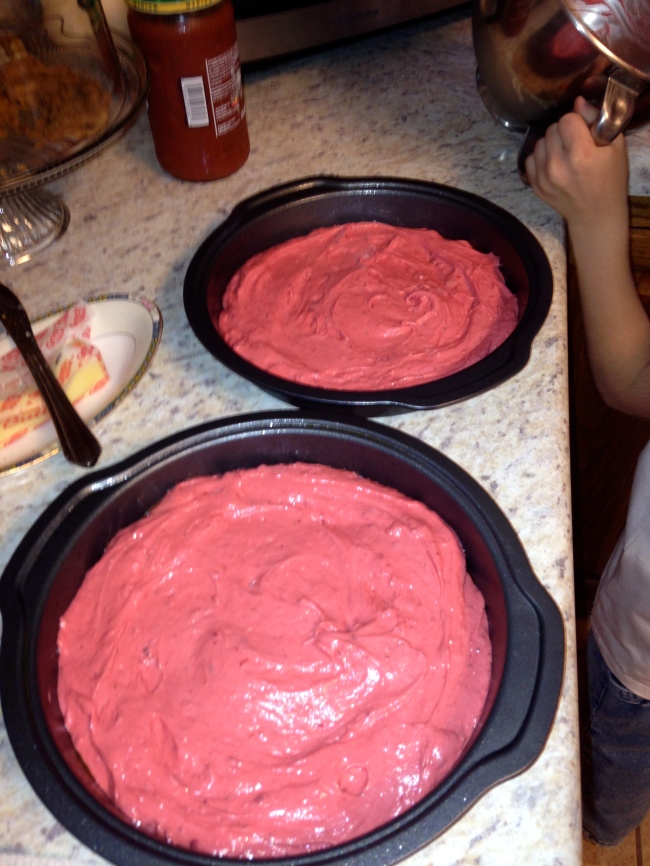
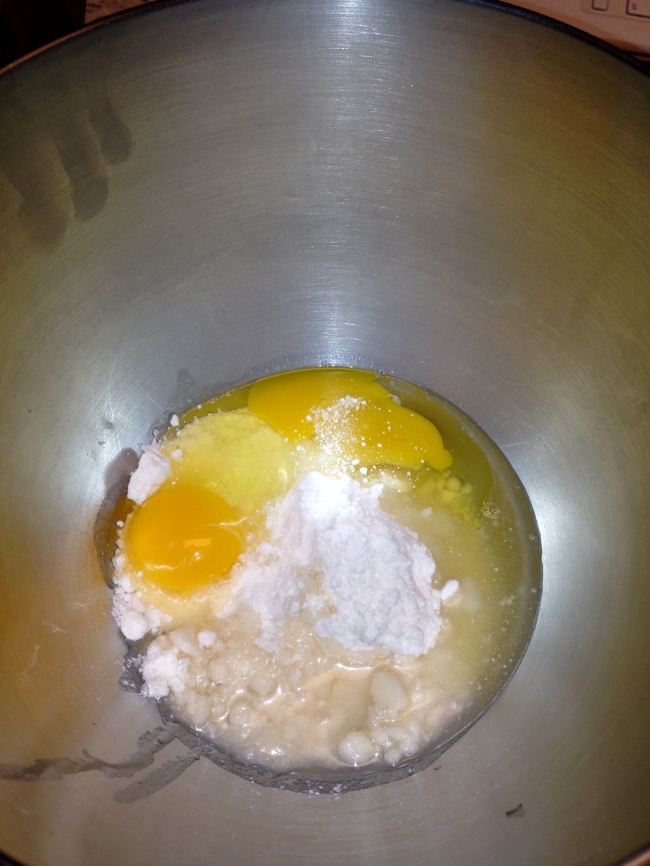
Using a stand mixer place all the ingredients in and mix for about 2 minutes. Separate into 2 8 in round cake pans and in a preheated oven bake for about 30 min.
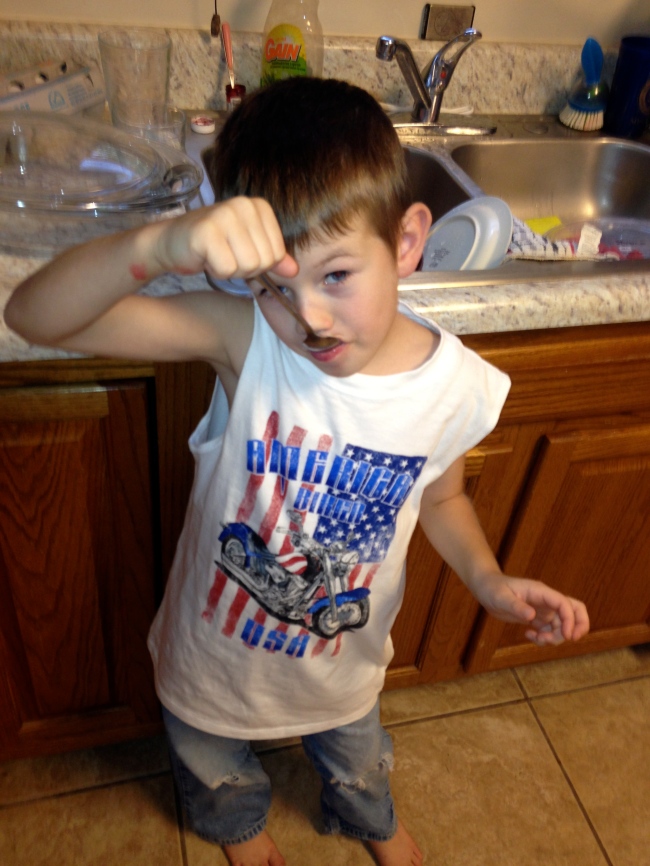
Thanks to the strawberries, these layers have a nice light strawberry taste. My taste tester agreed!
See the white 4th of July tank? Yeah it was white for about 10 min, shortly after his taste test there was a bit of pink batter at the top. Then after our family arrived and we gave them a tour of the new house, he somehow managed to get dirt on the bottom of it. I should know better, but I like white on him it makes his blue eyes really stand out. Dirty or not, he sure is a cutie!
Next up is the white layer
1/2 box of Betty Crocker Super Moist White cake mix
1/2 cup of water
2 tblsp vegetable oil
2 egg whites
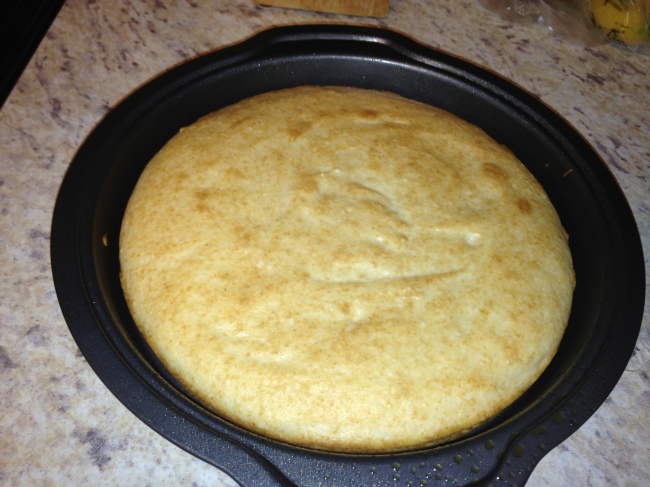
Mix all of the above ingredients together in a stand mixer. And put in an 8 in round cake pan. Bake at 350 for about 30 min, but keep an eye on it, I swear this baked a lot faster them that.
Blue Layer
1/2 box of Betty Crocker Super Moist White cake mix
1/2 cup blueberries, pureed in mixer
3 tblsp vegetable oil
2 whole eggs
1/2 tsp blue paste food coloring
3 tblsp white star shaped candy sprinkles or nonpariels
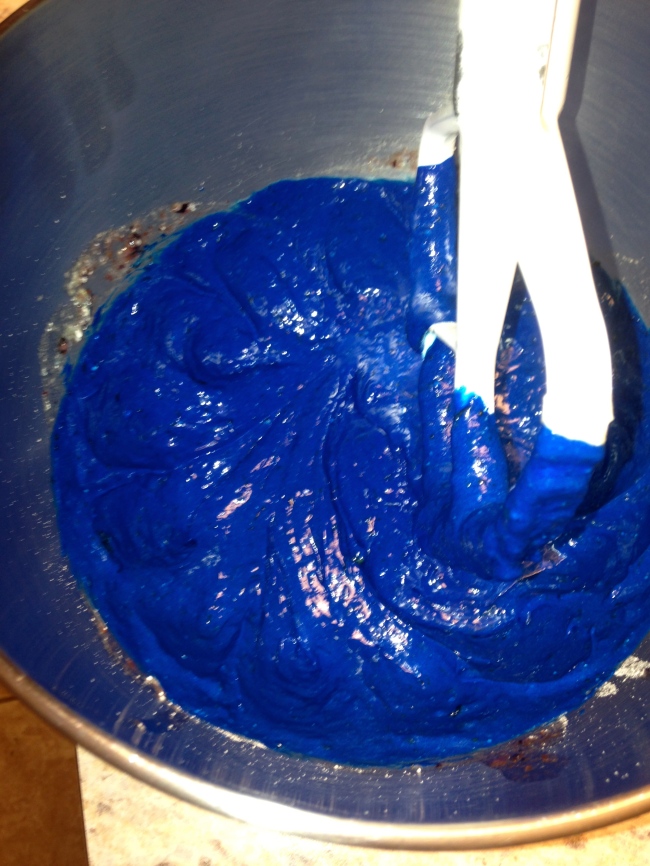
In your stand mixer, yes I washed my mixing bowl 3 times today, I keep saying I want either another Kitchenaid, or at the least another mixing bowl, I wouldn’t have to do so many dishes all the time, mix together all the blue ingredients with the exception of the white sprinkles.
Look at that lovely color! I think the best name for it is Tardis blue!
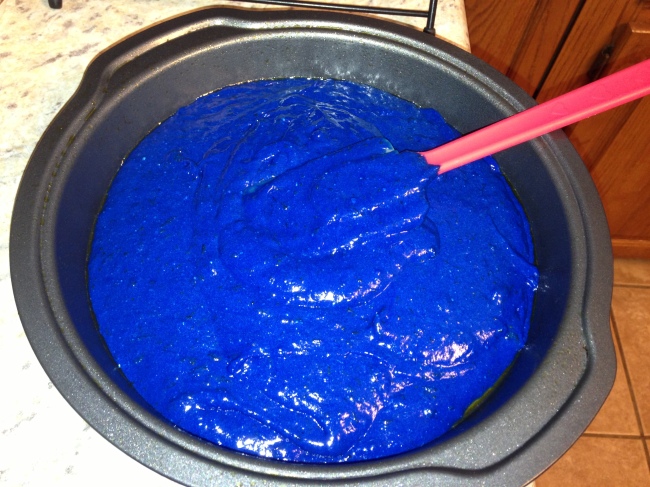
And spread it into, you guessed it, an 8 in round pan. Those lovely dark bits are the blueberries. This also has a nice fruity flavor to it. Makes for a super yummy cake.
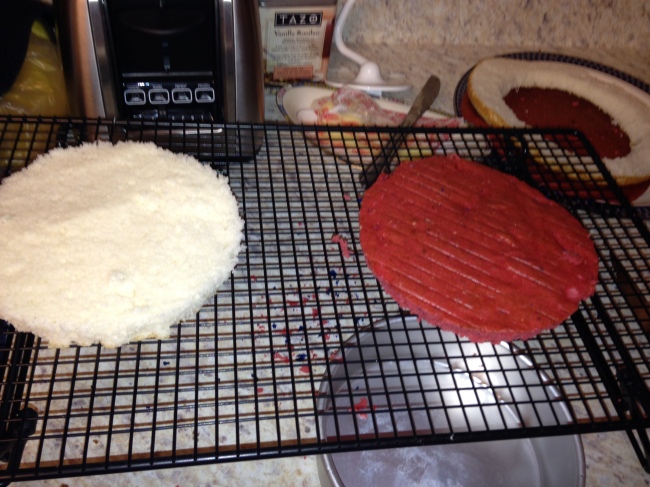
Ok, once you have all your cakes baked, and cooled, its time to cut them up.
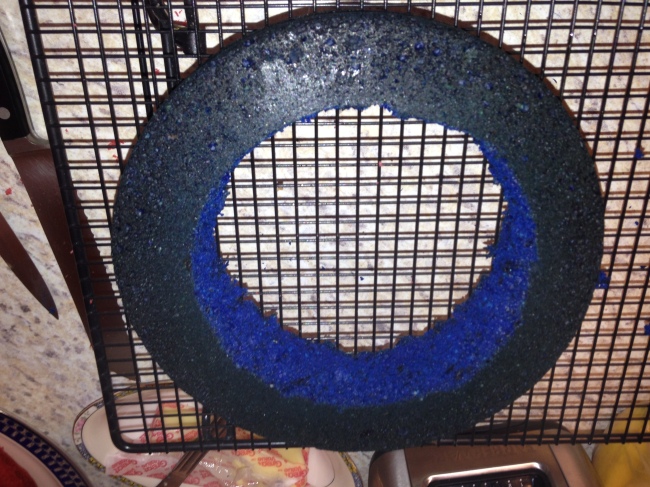
The red and white you are going to cut each layer horizontally in half so you have 4 layers of red, and 2 layers of white. Now out of one of the red, I used a smaller cake pan, not sure of the measurements of it, and cut out the middle in a circle. And with the blue layer, using the smaller cake pan as a guide, cut out the middle section (round) and set aside the middle for another day, and keep the ring handy.
Like this:
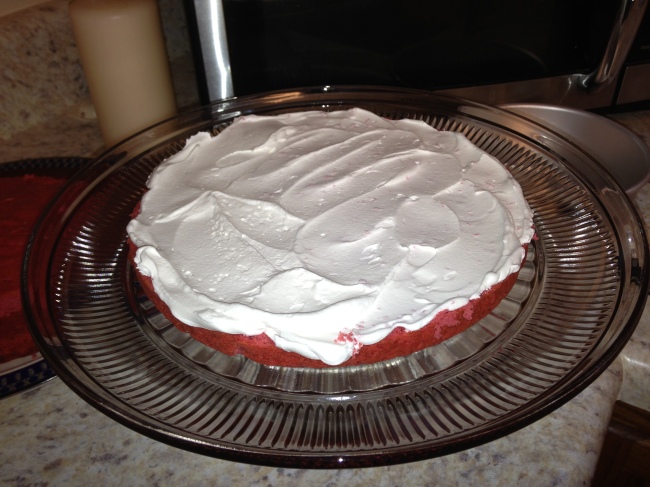
Now to layer them! Ok so your bottom layer should be red, place on the cake plate and spread a layer of frosting, or in my case cool whip on the top of the cake layer.
White comes next, and top that layer with your choice of white frosting or cool whip. Followed by another red layer. At this point it should be red, white, red.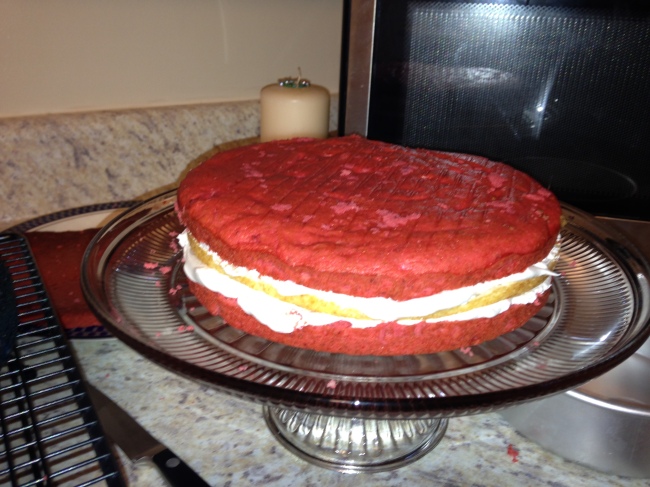
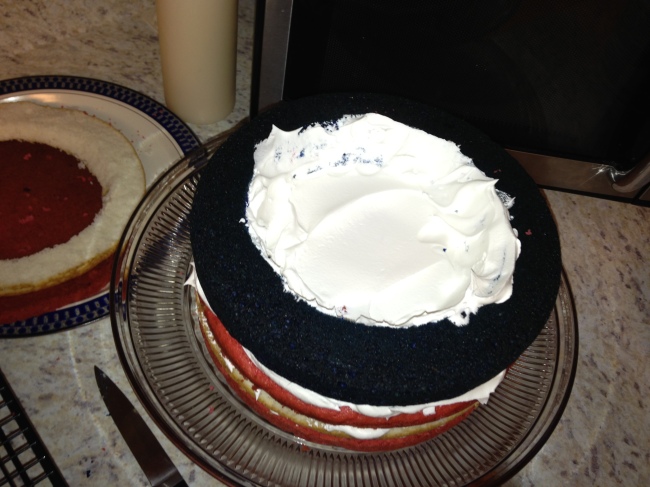
Now very carefully place the blue ring on top of the last layer, and with the icing frost the middle edges.
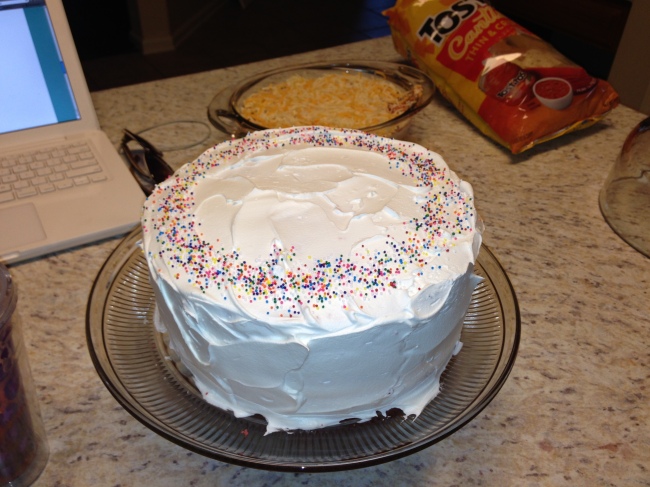
You should have a white and a red small circle from when you cut out the middle of 1 of each of those layers. Place first the white one in to fill the hole, pressing down and then icing it. On top of that, place the red, press it down slightly and frost the top of the cake and sides covering all the cake. Decorate with sprinkles or something fun!
The fun part is when you cut into it and you see the flag your layers created!
Pretty cool, huh?
What did you make for your Independence Day menu plan? Did you grill, or try something new? Let me know in the comments!
As always, here are the original posters
The Indian Fry Bread: http://thepioneerwoman.com/cooking/2011/10/indian-fry-bread-and-indian-tacos/
And the cake: http://tinyurl.com/lq9fuhq
I made the cake one a tiny URL since it was crazy long.
Happy 4th Of July!! I hope you all had a safe and fun celebration, and a special thank you to all our military men and women serving today to make it possible for us to enjoy this day with our families!
Love,
your Bestie Baker
